
Meat Processing Made Easy: 7 Steps to Process Your Deer or Elk Like a Pro
Processing your own wild game is more than a chore; it’s a tradition rooted in respect for the hunt and the harvest. Turning your deer or elk into steaks, roasts, or jerky at home connects you to your food in a way few things can.
Honoring the Hunt
At Bass Pro Shops, we believe in celebrating every step of the outdoor journey — from the field to the table. Whether you’re new to processing or refining your technique, this guide will walk you through safe, simple, and satisfying ways to prepare your wild game with pride.
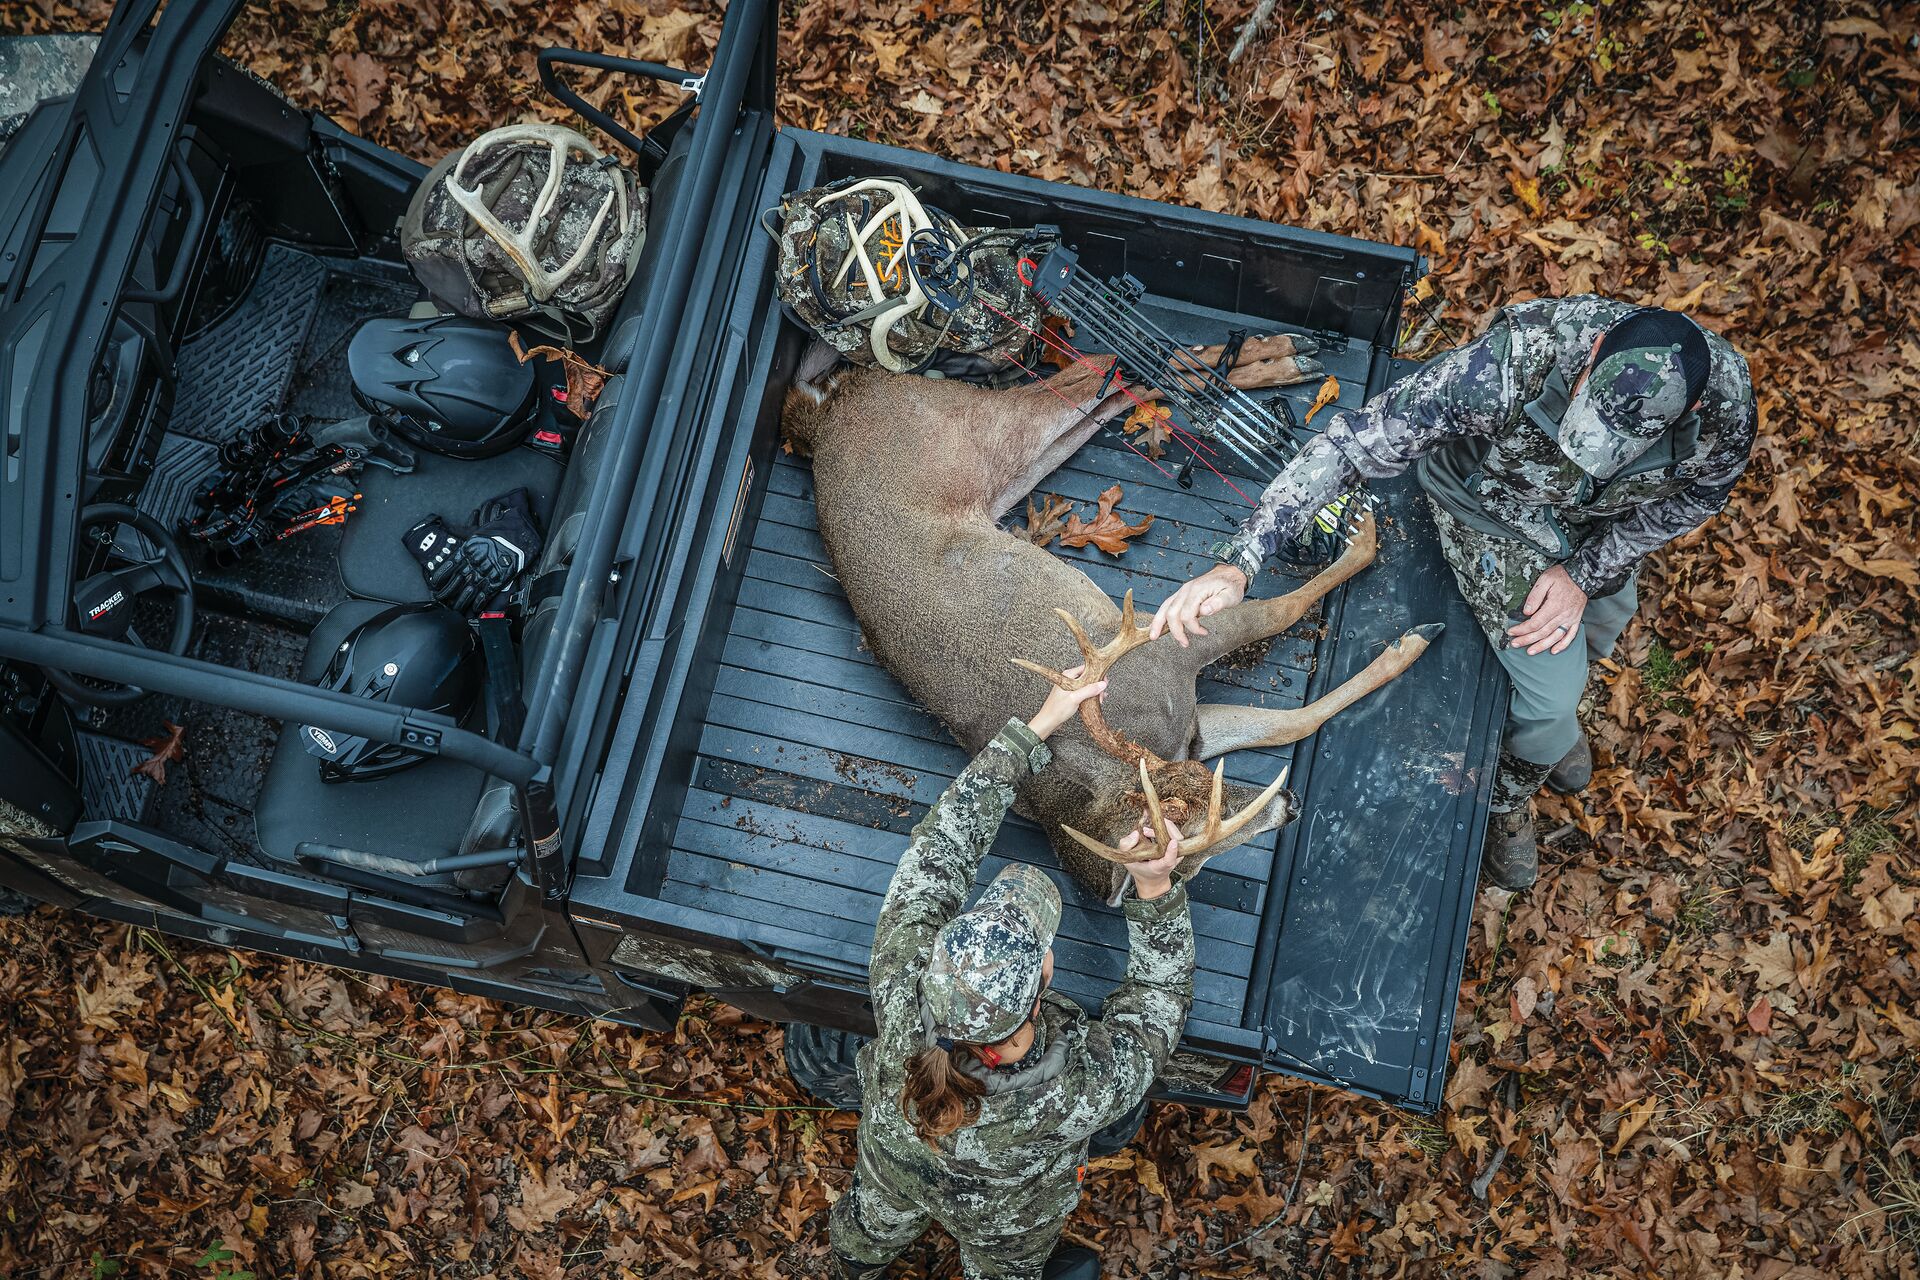
Step 1: Field Care and Cooling
The quality of your venison or elk starts long before the first knife cut. Proper field care is essential to preserving flavor and preventing spoilage.
Key field-care steps:
- Field-dress your game as soon as possible after harvest.
- Prop open the chest cavity to allow heat to escape.
- Use game bags to keep insects and debris away.
- Keep meat cool with ice or snow until you can refrigerate it.
Pro Tip: The faster your meat cools below 40°F, the better the flavor and texture will be.
Gear to consider: Game bags, heavy-duty coolers, and Bass Pro’s insulated ice packs are essential for this stage.
Step 2: Butcher Like a Pro at Home
You don’t need to be a professional to process your own deer or elk. All you need are clean surfaces, sharp tools, and patience.
Start with:
- A large, sanitized cutting table or countertop
- A quality boning knife set
- Freezer paper, bags, and a vacuum sealer
-
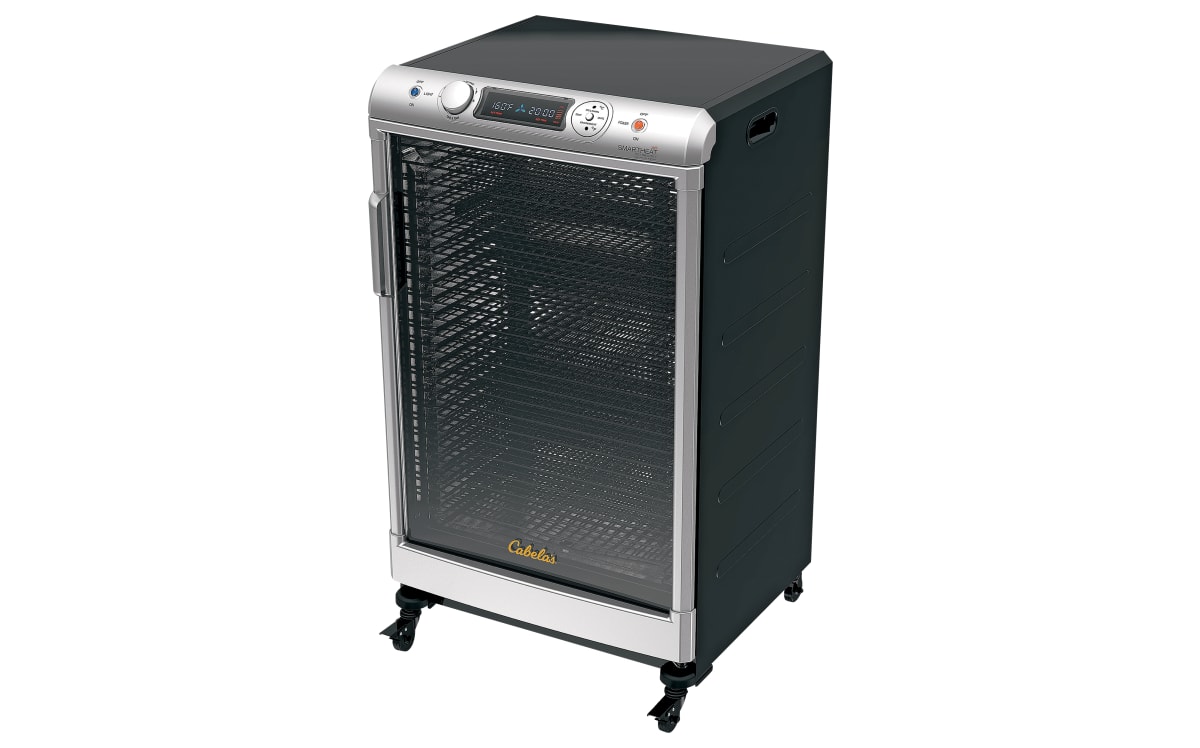
Cabela's 160-Liter Commercial Food Dehydrator
$474.98- Penta 360° Air Flo design
- Powerful 1,600W heater
- Smart Heat technology
- 24 removable racks
-
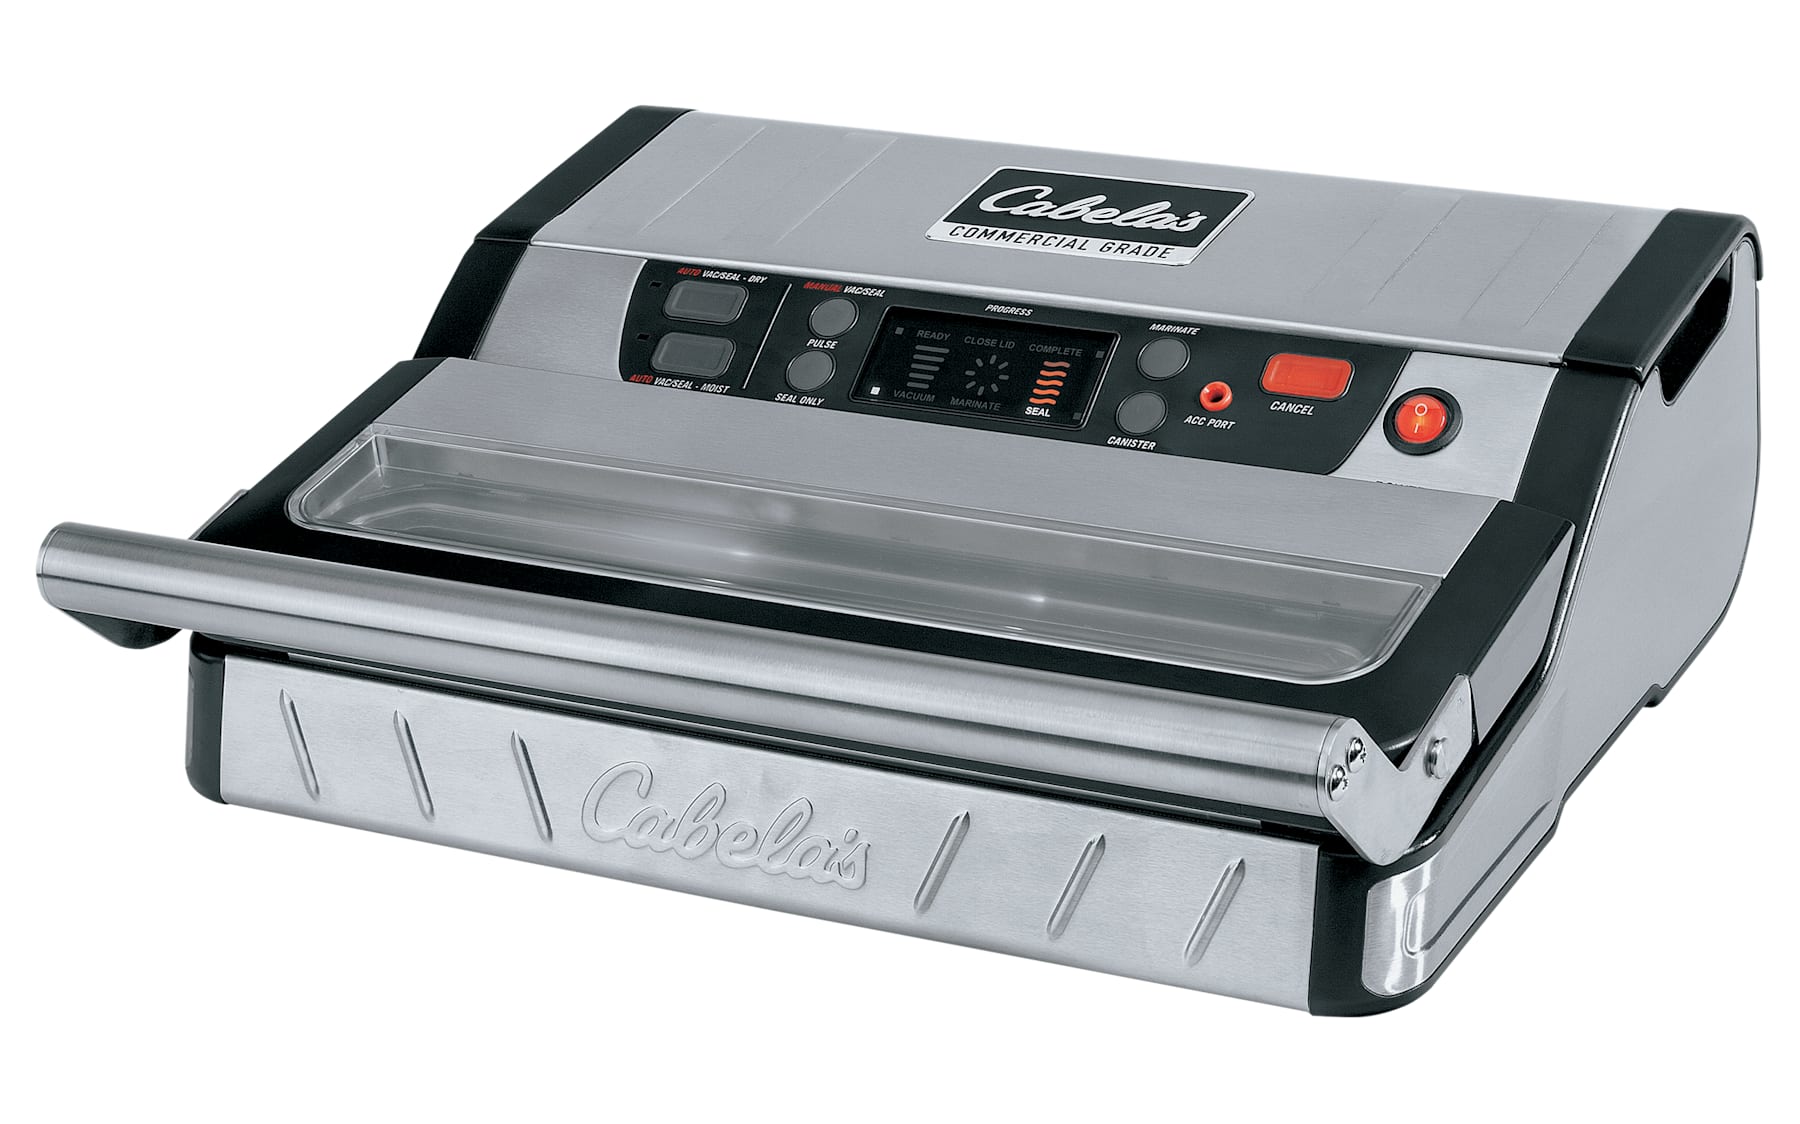
Cabela's Commercial-Grade Vacuum Sealer
$274.98- Lock-down handle
- Multiple sealing modes
- Intelligent Sealing Bar monitors and adjusts heat level
- Compact 12" dual heat-strip sealing bar for an airtight seal
-
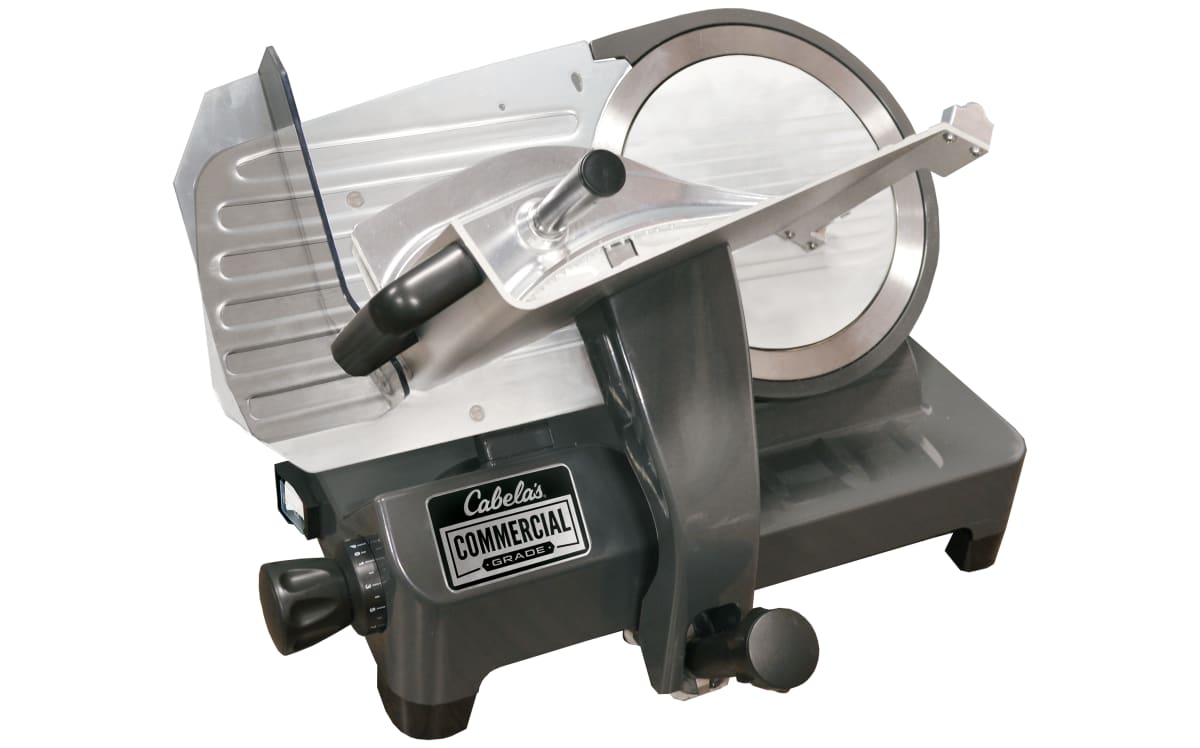
Cabela's Commercial-Grade Food Slicer
$224.98 - $336.98- Blade Sizes 8.7", 10", 12"
- Precision adjustable cut
- Die-cast aluminum body
- Includes storage cover and blade sharpener
-
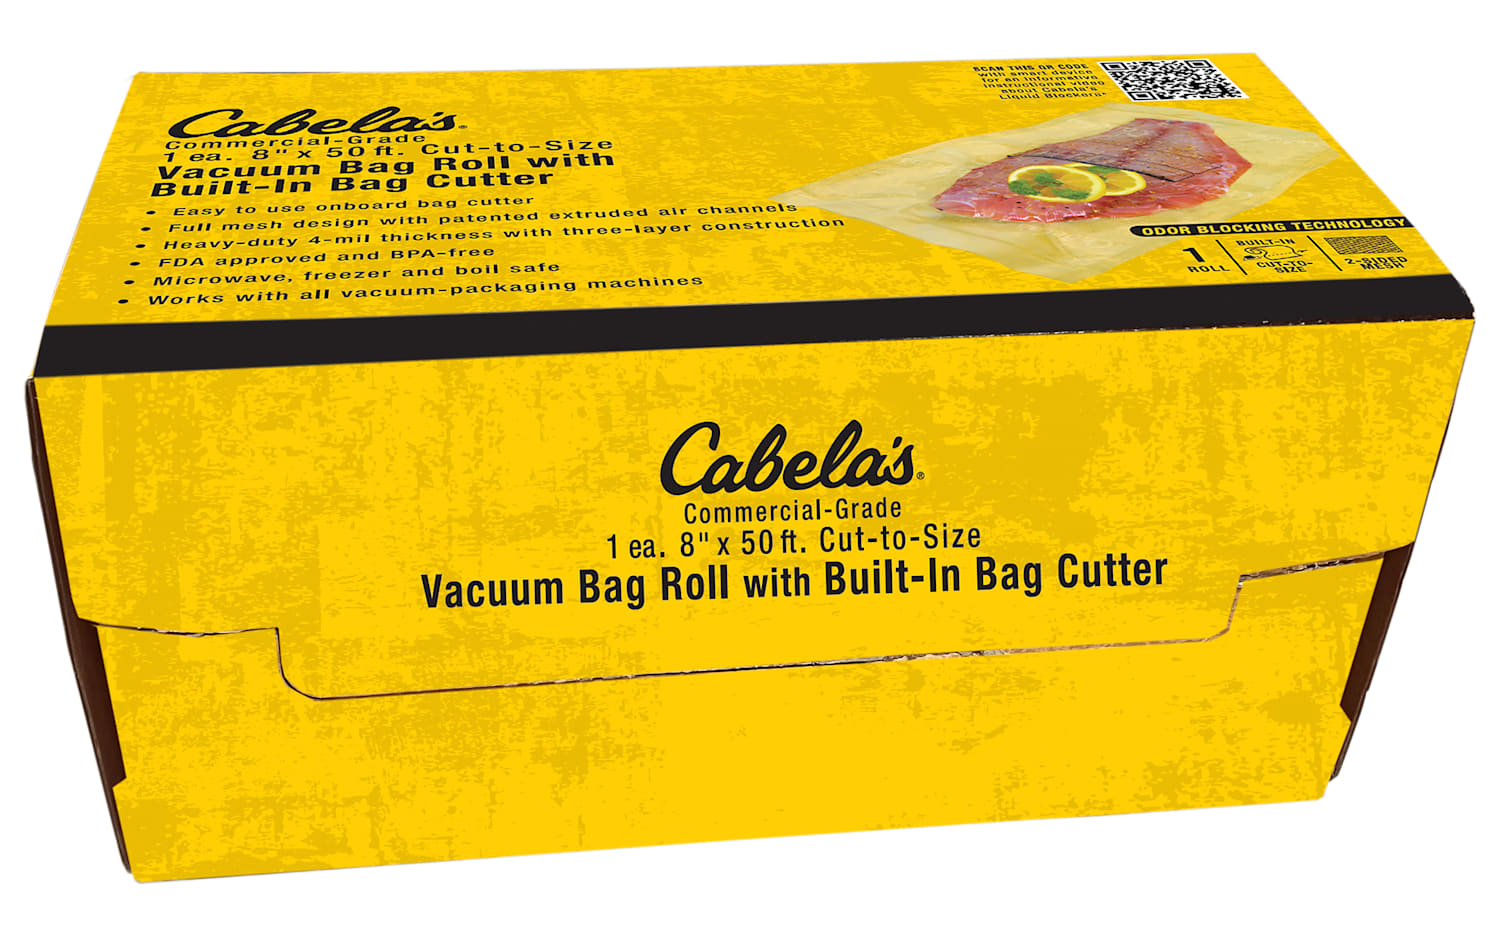
Cabela's Commercial Grade Vacuum Sealer Bag Rolls with Bag Cutter - 8" x 50'
$19.99- Heavy-duty, 4-mil plastic construction
- 3 layer construction
- FDA approved and BPA-free
- Microwave, freezer, and boil safe
-
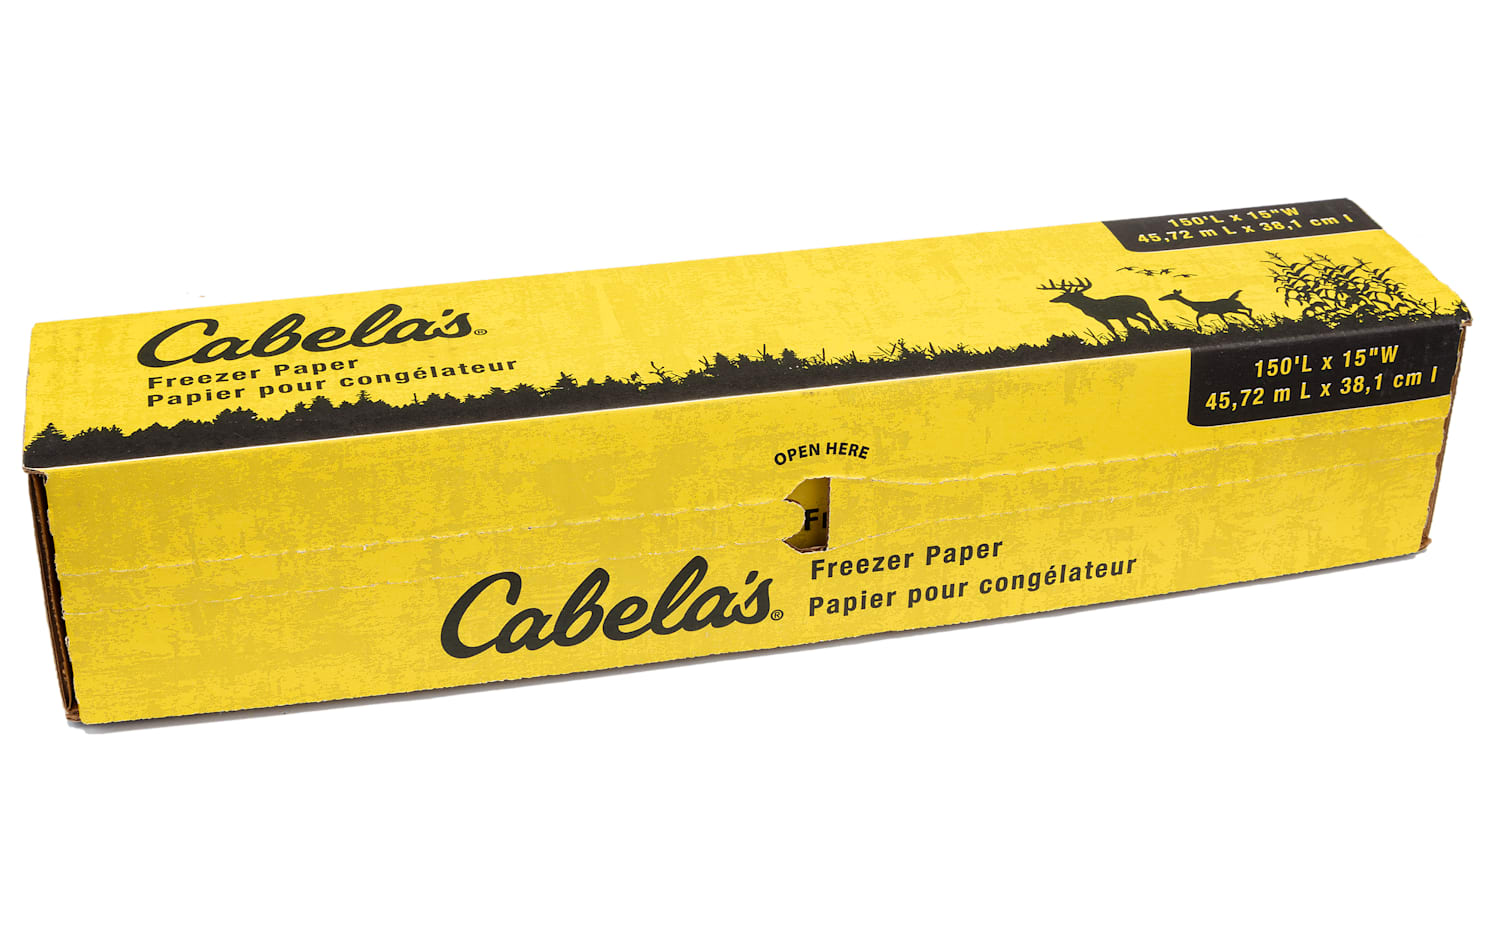
Cabela's Freezer Paper - 15" x 150'
$19.99- Quality freezer paper for long-term storage
- High-quality 35# unbleached paper
- Coated to resist leaking or seepage
- Comes in box with built-in paper cutter
-
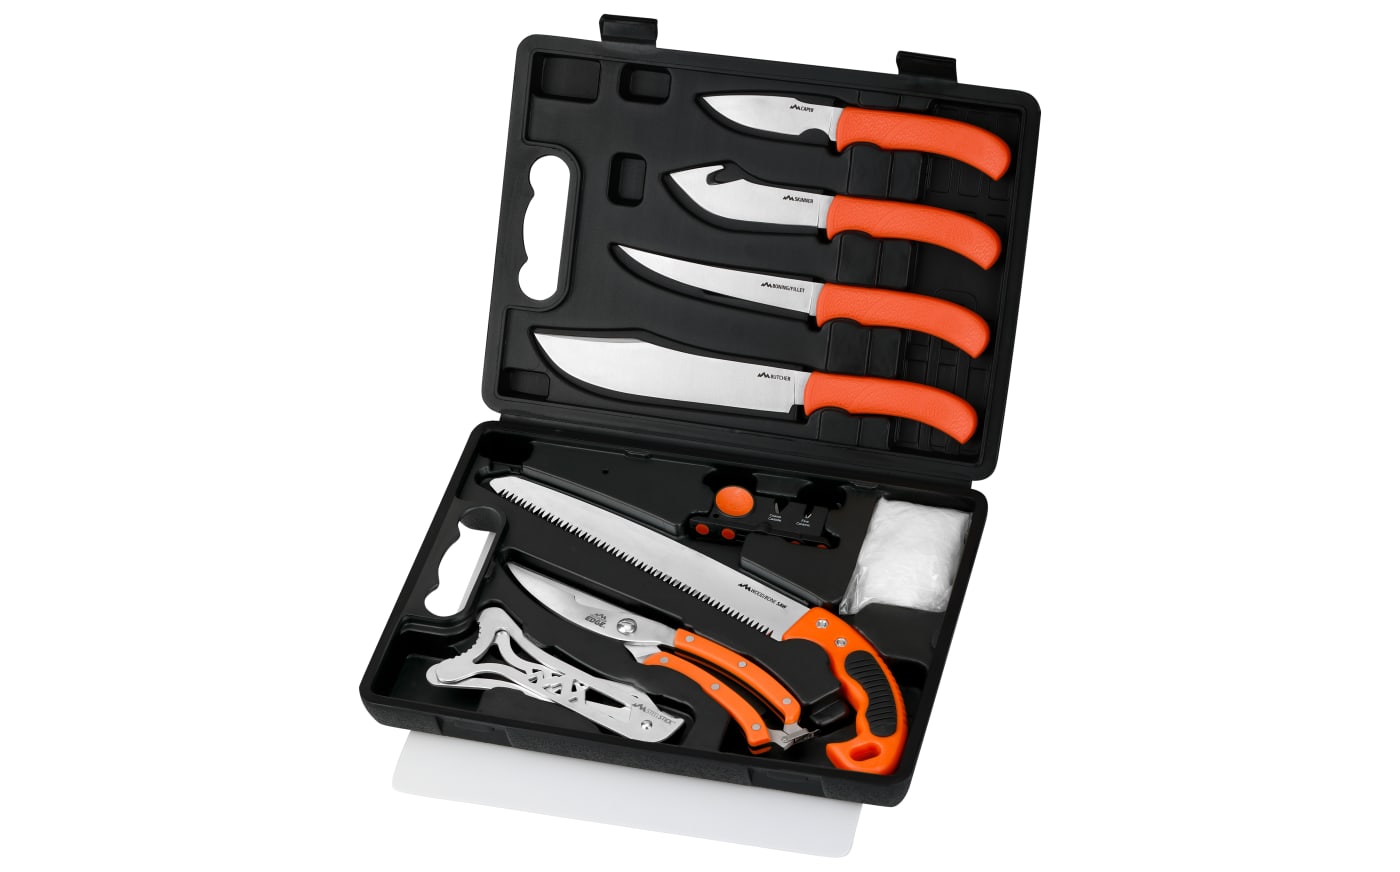
Outdoor Edge Butcher Max 11-Piece Game Processing Set
$89.99- Heat-treated 420J2 stainless steel blades
- Taper ground full-tang blade construction
- Nonslip TPR handles
- Hard-sided carrying case
-
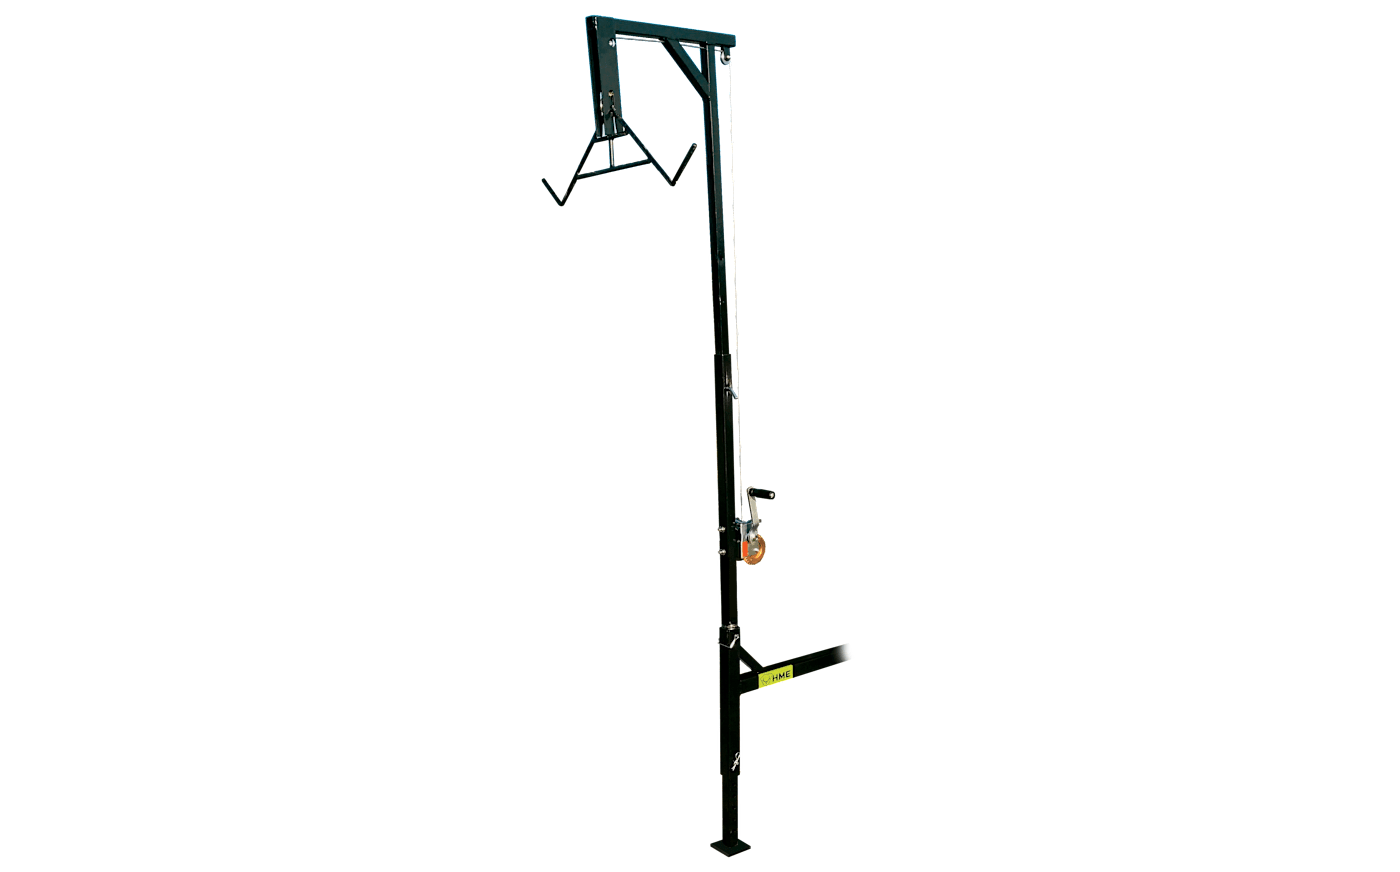
HME Hitch Hoist with Swivel and Gambrel
$169.99- Attaches to hitch-equipped hunting vehicle
- 360° swiveling shaft with locking pin
- Swivel prevention hook
- 400 lb. capacity
-
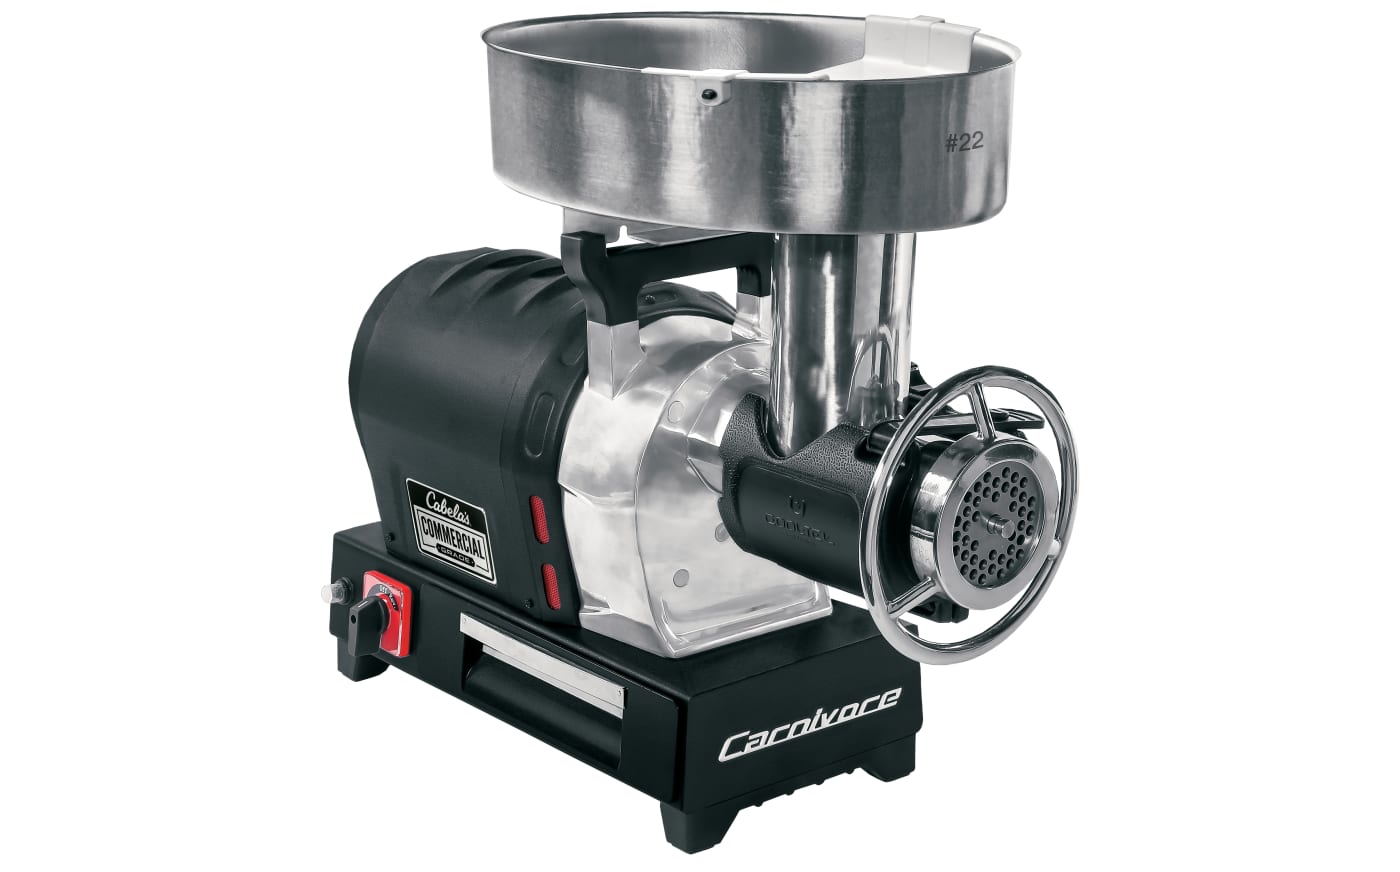
Cabela's Commercial-Grade 1HP Carnivore Meat Grinder
$449.98- One-way fit cutting knife
- ETL sanitation certified for commercial use
- High-capacity, heavy-gauge stainless steel meat tray
- Heat sink technology on bottom of Cool-Tek Pak
Work slowly, one muscle group at a time. Keep any meat not being worked on in the refrigerator to avoid the “danger zone” between 40°F and 140°F where bacteria can multiply.
Pro Tip: Cold meat cuts cleaner. If you’re struggling with a slippery roast, chill it in the freezer for 30 minutes before trimming.
Step 3: Trim for Taste
Deer and elk are naturally lean animals, and while that makes their meat healthier, it also means fat and sinew can quickly affect flavor.
When trimming, remove:
- Fat (it tends to taste waxy or rancid)
- Silver skin (a thin, shiny membrane that toughens during cooking)
- Bloodshot tissue (which can add a bitter taste)
This step takes time, but it’s what separates “good” venison from restaurant-quality meat.
Helpful tip: Use a small paring knife for precision trimming and wipe down your blade often to prevent buildup.
Step 4: Choose the Right Cooking Method
Different cuts deserve different cooking methods. Understanding how each one behaves will help you make the most of your hard-earned harvest.
For tender cuts (backstrap, tenderloin)
Cook hot and fast over high heat. Cast-iron pans or grills bring out deep, rich flavor.
For tougher cuts (shoulder, shank, neck)
Go low and slow. Slow-cooking or braising in a Dutch oven transforms tough fibers into melt-in-your-mouth meals.
For ground meat and sausage
Combine venison with pork fat (around 70/30 ratio) to maintain moisture and texture. Add your favorite wild game seasonings for flavor.
Pro Tip: For perfect sous vide results, season your protein, seal it tightly, and let low-and-slow precision cooking do the work so every bite comes out evenly cooked, tender, and full of flavor.
Learn the Secret to Tender, Flavorful Wild Game with Sous Vide
Step 5: Smoke and Preserve
Few things capture the flavor of the outdoors like smoked wild game. From sausage and pepperoni sticks to jerky, smoking is both practical and delicious.
To make jerky:
- Slice semi-frozen meat into thin strips.
- Marinate overnight in your favorite blend (teriyaki, chipotle, or garlic-pepper).
- Dry in a Cabela’s Dehydrator or smoker at 160°F until firm but flexible.
For sausage or snack sticks:
- Grind your meat, season, stuff into casings, and smoke slowly until fully cooked.
Pro Tip: Homemade jerky and sausage are perfect gifts for friends, hunting buddies, or donation drives during National Wild Game Meat Donation Month.
Step 6: Store, Label, and Freeze
Once your meat is cleaned and portioned, proper storage keeps it fresh for months.
Freezing best practices:
- Vacuum seal for the longest shelf life.
- Label every package with cut type and date.
- Freeze in meal-sized portions for convenience.
| Type of Cut | Best Used Within |
|---|---|
| Steaks & Roasts | 10–12 months |
| Ground Meat | 6–8 months |
| Jerky (frozen) | 3–4 months |
Step 7: Share the Harvest
If your freezer is full, consider giving back through wild game donation programs in your community. Bass Pro Shops proudly supports conservation and donation initiatives that help feed families and reduce waste.
“Every package of wild game meat tells a story of respect, stewardship, and gratitude.”
- 9451 views