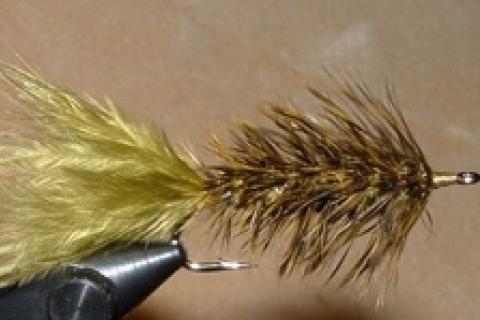
No other fly fishing fly lure has been carried as far and wide and across as many continents as the wooly bugger. If you plan on fly-fishing lakes, wooly buggers are a must-have for your fly box, and you should carry them in varying sizes, colors and weights to match the conditions. Wooly Buggers can also be very effective in rivers, but smaller hooks should be used, especially in clear-water conditions.
The Wooly Bugger's effectiveness is due in part to its ability to imitate so many of the different food sources on which fish feed. Technically classified as a streamer pattern, the wooly bugger can easily imitate damsel/dragonfly nymphs, crawfish, baitfish, stonefly nymphs, leeches, hellgrammites and all sorts of aquatic invertebrates. In water systems where sculpins, leeches and crawfish are plentiful, the wooly bugger will get big fish to bite and bite down hard.
When fishing the wooly bugger make sure you vary the retrieve until you find what works best at the moment. Different water conditions — depth, clarity and flow — influence the effectiveness of the Wooly and can make your presentation look very appetizing or not appealing at all. Start off with a slow, steady strip-and-pause technique. If that doesn't get any looks from fish, switch to quick, short, two-inch strips of line. Be patient when fishing this pattern, in most cases fish won't grab at the Wooly Bugger right as it hits the water, but rather follow the fly while remaining in their hiding spot until it's almost out of their reach, and then bolt out to greedily eat it down.
Materials List for the Olive Wooly Bugger
| Hook | TMC Streamer Hook - Size 6, 7 or 8 |
| Thread | Olive Uni Thread, Size 8/0 |
| Hackle | Saddle Hackle |
| Tail | Olive Maribou |
| Body | Olive Chenille |
| Rib | Fine Copper Wire |
| Weight | Lead Wire |
Step-by-Step Instruction for the Wooly Bugger
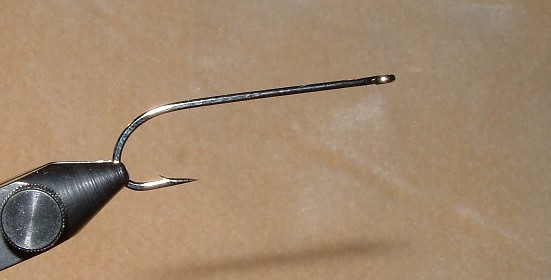 Step 1 — Start By placing the hook in the vise and securing it into position.
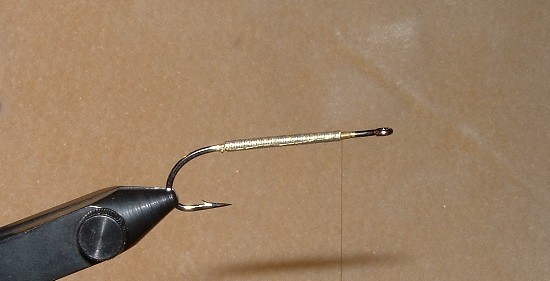 Step 2 — Clip a small strip of lead-free wire, and wrap it onto the hook shank. Make sure to leave plenty of space in the head and tail areas.
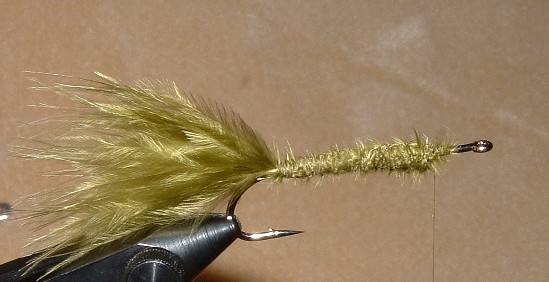 Step 3 — At the point above the hook barb, measure and clip a small bunch of marabou feathers (the tail length should be the same length as the hook shank) and tie them down to the hook shank. Wrap the tag ends of the marabou down to the hook shank as well so that the entire hook shank is covered with feathers.
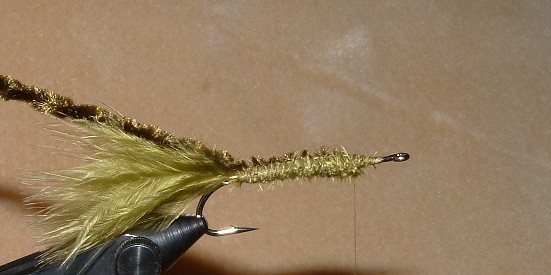 Step 4 — Advance the thread to the back of the hook eye and tie in a 3-inch piece of chenille. Cover this chenille with thread until you reach the point above the barb with the thread and the chenille.
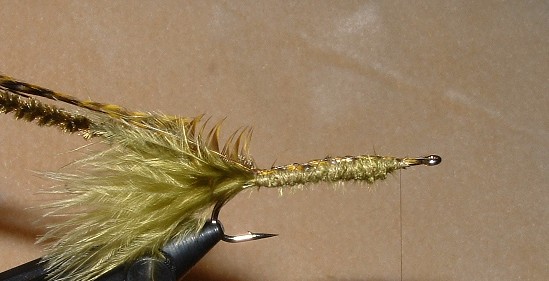 Step 5 — Select an olive hackle that has fibers about two times the length of the hook gape. Tie down this feather by its tip (at the point above the barb) and then advance the thread to the back of the hook eye.
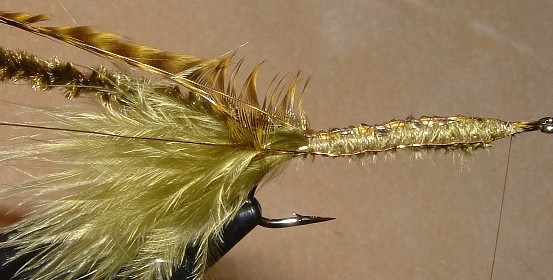 Step 6 — Repeat this process of advancing the thread to the back of the hook eye, but this time wrap down a 3-inch section of fine copper wire.
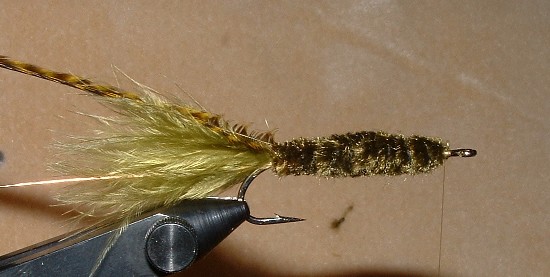 Step 7 — With the chenille in hand, start wrapping the fiber up the length of the hook shank until you reach the 3/4 mark on the hook. Tie it off with the thread and clip off the excess.
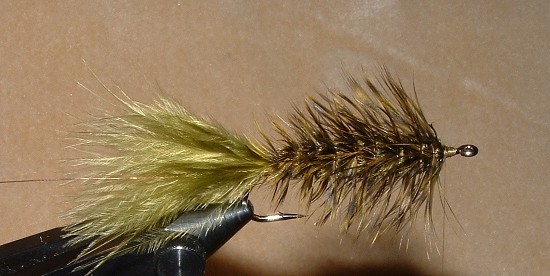 Step 8 — Take the hackle fiber and stroke the fibers backwards with your fingers and wrap the fiber forward up the length of the hook shank. Be careful not to wrap over top any of the hackle fibers from earlier wraps. At the 3/4 mark tie it off with the thread and chip the excess.
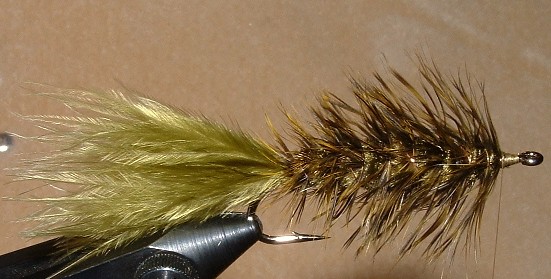 Step 9 — Wrap the copper wire forward up the length of the hook shank in the opposite direction that you wrapped the hackle. This will tie down the hackle securely. Be careful not to wrap down to many of the hackle fibers.
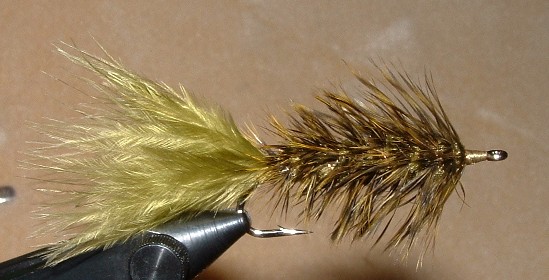 Step 10 — Make half-hitch knots behind the eye of the hook. You can use your fingers or a whip finisher to do this. Make a loose loop by wrapping the thread around your finger. Slide the loop off our finger near the eye. Do this step three to five times and cut the threadas close to the fly hook as possible.
- 36220 views

