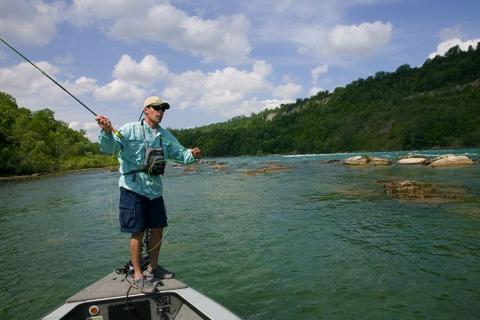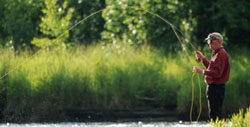

Out of all the important skills associated with becoming a successful fly fisherman, one of the most significant to having a great day out in the water would have to be fly casting. While there are many different techniques and styles to fly casting, basically all casts fall into two categories: overhead and under-head types of casts.
Under-head casting techniques or more specifically, the roll cast, is a key technique to presenting flies to fish when cover is tight. To beginners, the roll cast can be a daunting task to perform. A good knowledge of casting principles, patience, and lots and lots of practice is needed by fly anglers to achieve a cast that rolls on the water's surface and lies out softly.
Basic Roll Cast Procedure
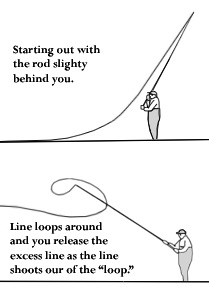
1. Start the roll cast by letting out some line in front of yourself (15 to 20 feet is best for beginners). Imagine yourself as a "clock" and the rod is a clock hand. With your rod in hand, slowly sweep the rod tip up behind your shoulder until the tip of the rod is approximately at 10 or 11 o'clock. (To take this one step further, the stiffer the rod you are using, the less angle you will need in order to get your line rolling. Likewise, softer rods will need slightly more angle to roll the fly line out smoothly).
 2. For this cast it does not matter if you are right or left handed, all that is important here is that your casting hand be level to your ear and slightly tipped outside the elbow.
3. At this point in the cast you should have the beginning of the fly line hanging to the side of your body you will be casting from. The fly line will hang down and curve off towards the water surface resembling a capital "D," and is known as the "D-loop."
4. With a smooth movement, flip the rod tip forwards to get the cast started. Remember you do not have to power the line out in front of you with the muscles in your arm and shoulder, but rather with a small flick of your wrist and your forearm moving forward.
5. The fly line should roll forward along the waters surface in a loop. As it moves forward out towards the target, the remaining line should lift off the water and lay out above the water. After the fly line has finished straightening out it will then drop lightly to the water surface. When this is happening follow the fly line down to the 3 o' clock position with the tip of the fly rod to complete the cast.
Tips to making the roll casting easier
Use the rod spine to its full potential — As with over-head casting one of the main problems seems to come from individuals trying to over power the cast. You do not want to just lob the line out in front of yourself but rather to allow the rod stiffness to throw the line out for you. Forget about all other parts to the cast when beginning, just concentrate on the rod and how it flexes and releases as you move it forward.
Make sure to check behind your casting arm — Although you are not performing an over-head cast, the fly line will at some point during the cast swing slowly behind you (only a few feet). As the line passes behind you it has a chance of snagging up on vegetation or clothing causing the cast to drop to the waters surface in a bundled mess.
Use the waters surface to anchor the line — In all roll casting cases, the surface tension of the water will help to hold the fly line in place. If the line is not anchored then a large circular loop will form and the end of the fly line will not straighten completely.
Practice, practice, and more practice — No one masters the roll cast in one day. You will need to figure out how much line in the D-loop or out on the water is comfortable for you, along with what good casting motions feels like. Each time you pick up your fly rod, try to concentrate on these points until you find a casting stroke that feels smooth and gets the line out to where you need it to be.
- 8795 views

